














Getting started
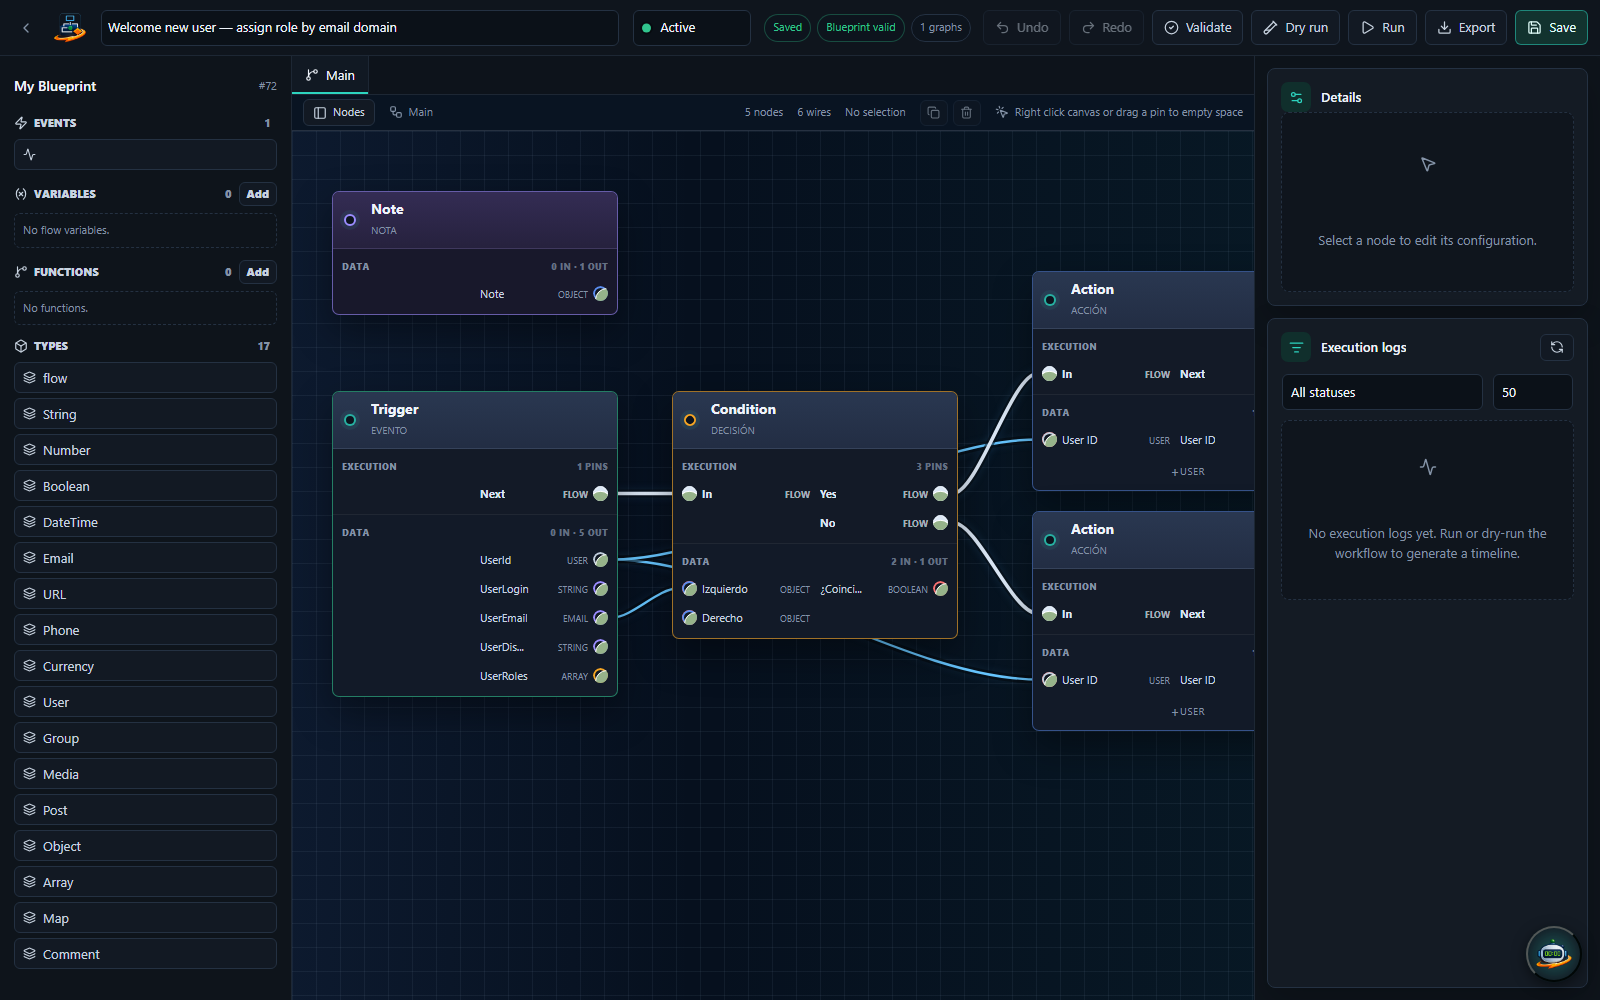
From zero to your first running workflow in about 10 minutes.
What you need
- WordPress 6.5 or newer.
- PHP 8.1 or newer.
- A Setyenv account (free) to download the plugin — or our Docker image, which ships it installed.
- Admin access to the WP site where you want to install it.
No licence key is needed: without one the plugin runs the Community Edition (free for personal and non-commercial use, every feature). An Enterprise key, for commercial use, is entered once for both WP-PFWorkflow and WP-PFManagement — see step 2.
Optional for the example below:
- A WooCommerce store (to use a WooCommerce trigger).
- An OpenAI API key (to use the AI node).
1. Install the plugin
From your customer dashboard:
- Open Downloads and find the WP-PFWorkflow release you want.
- Click Download. The page shows a URL valid for 24 hours and for one download.
- Click the URL to download
wp-pfworkflow-X.Y.Z.zip.
On your WordPress site:
- Go to Plugins → Add New → Upload Plugin.
- Choose the .zip file you just downloaded and click Install Now.
- Click Activate Plugin.
You will see a new top-level menu item in wp-admin: Setyenv.
2. Enterprise Edition (optional)
For commercial use, enter your Enterprise key:
- Go to Setyenv → License (in either WP-PFWorkflow or WP-PFManagement — one key licenses both on the site).
- Paste the key (it starts with
PFL3.). - Click Activate Enterprise licence.
The screen shows the edition the site runs. Without a key it reads Community Edition, and everything in this guide works exactly the same.
site_limit_reached, the key is alreadyactive on as many domains as your subscription covers. Remove it from
an old site (Setyenv → License → Remove licence from this site) or
add domains from your customer dashboard.
3. Build your first workflow
- Setyenv → Workflows → Add New.
- Give it a name, e.g. "Thank big WooCommerce orders".
- Click the empty canvas; the node library opens on the right.
- Drag Triggers → WooCommerce → Order paid onto the canvas.
- Drag Workflow → Condition below it; connect the trigger's output to the condition's input.
- Configure the condition: Total ≥ 200. The condition has two output handles:
trueandfalse. - Drag AI → OpenAI: Chat completion to the right of the condition; connect the
trueoutput to it. - Configure the AI node with your OpenAI key (if you don't have a Connection set up yet, the node opens an inline form to create one). Use this prompt: "Write a 2-sentence thank-you note for a customer who just spent {{trigger.order_total}} EUR. Reference their first name: {{trigger.customer_first_name}}.".
- Drag Email → Send email below the AI node; connect them. Configure: To =
{{trigger.customer_email}}, Subject = "Thanks for your order", Body ={{ai.completion}}. - Click Save at the top right.
That is your first workflow. Saved as a draft, not activated yet.
4. Test it once before going live
The button Test run at the top right opens a dialog where you can paste a fake trigger payload (the JSON the engine would receive if a real WooCommerce order fired). Use it to confirm the logic runs end-to-end without waiting for a real order.
The execution timeline opens in a side panel showing every node with its inputs and outputs. If anything fails, the failed node is highlighted in red with the error message — you can fix and re-run.
5. Activate
When the test run is green, click Activate at the top right. The toggle goes from grey to green. The next real WooCommerce order over 200 EUR triggers the workflow. You can see all real executions under Setyenv → Executions.
What to do next
- Read Concepts so you understand what "trigger", "execution", "connection" really mean in this engine.
- Browse the Nodes catalog to see what is available beyond the example above.
- If a workflow fails in production, the Troubleshooting page lists the most common errors and their fixes.