














Getting started
From zero to a first agent conversation in about 5 minutes.
Prerequisites
- WordPress 6.5 or newer.
- PHP 8.1 or newer.
- An API key for at least one LLM provider (OpenAI, Anthropic, Gemini, etc.).
- Optionally, the Setyenv suite (WP-PFManagement / WP-PFWorkflow) if you also want the data-modelling and workflow-automation surfaces. WP-PFAgent works on its own without them — it manages WordPress core and your popular plugins directly.
1. Install
WP-PFAgent is free. Install it like any WordPress plugin — from the WordPress.org plugin directory (Plugins → Add New, search for "WP-PFAgent"), or by uploading the plugin zip via Plugins → Add New → Upload Plugin → Install → Activate.
A new sub-menu appears under Setyenv → Agent. There is no licence key to enter.
2. Add an LLM provider
Setyenv → Agent → Providers → Add Provider:
- Pick a preset from the dropdown (e.g. OpenAI — GPT-4o).
- Paste your API key. The form may ask for extra fields depending on the provider (organisation id for OpenAI, deployment id for Azure, base URL for OpenAI-compatible).
- Click Test connection — sends a tiny health-check completion. Success means the key works and the agent can use this provider.
- Save.
You can add multiple providers — when starting a chat session you pick which one to use for that session.
3. Start a chat session
Setyenv → Agent → Chat:
- Pick a provider + model from the dropdown.
- Type your first message. Try something simple to confirm the pipe works: "List my workflows.".
- Press Enter.
The agent calls the workflow.list tool and shows you the list. That confirms: provider → agent → Workflow engine all wired.
4. Try a build instruction
Now ask something that BUILDS:
"Build a workflow that, when a WooCommerce order is over 200 EUR,
sends a personalised thank-you email using OpenAI."
The agent will:
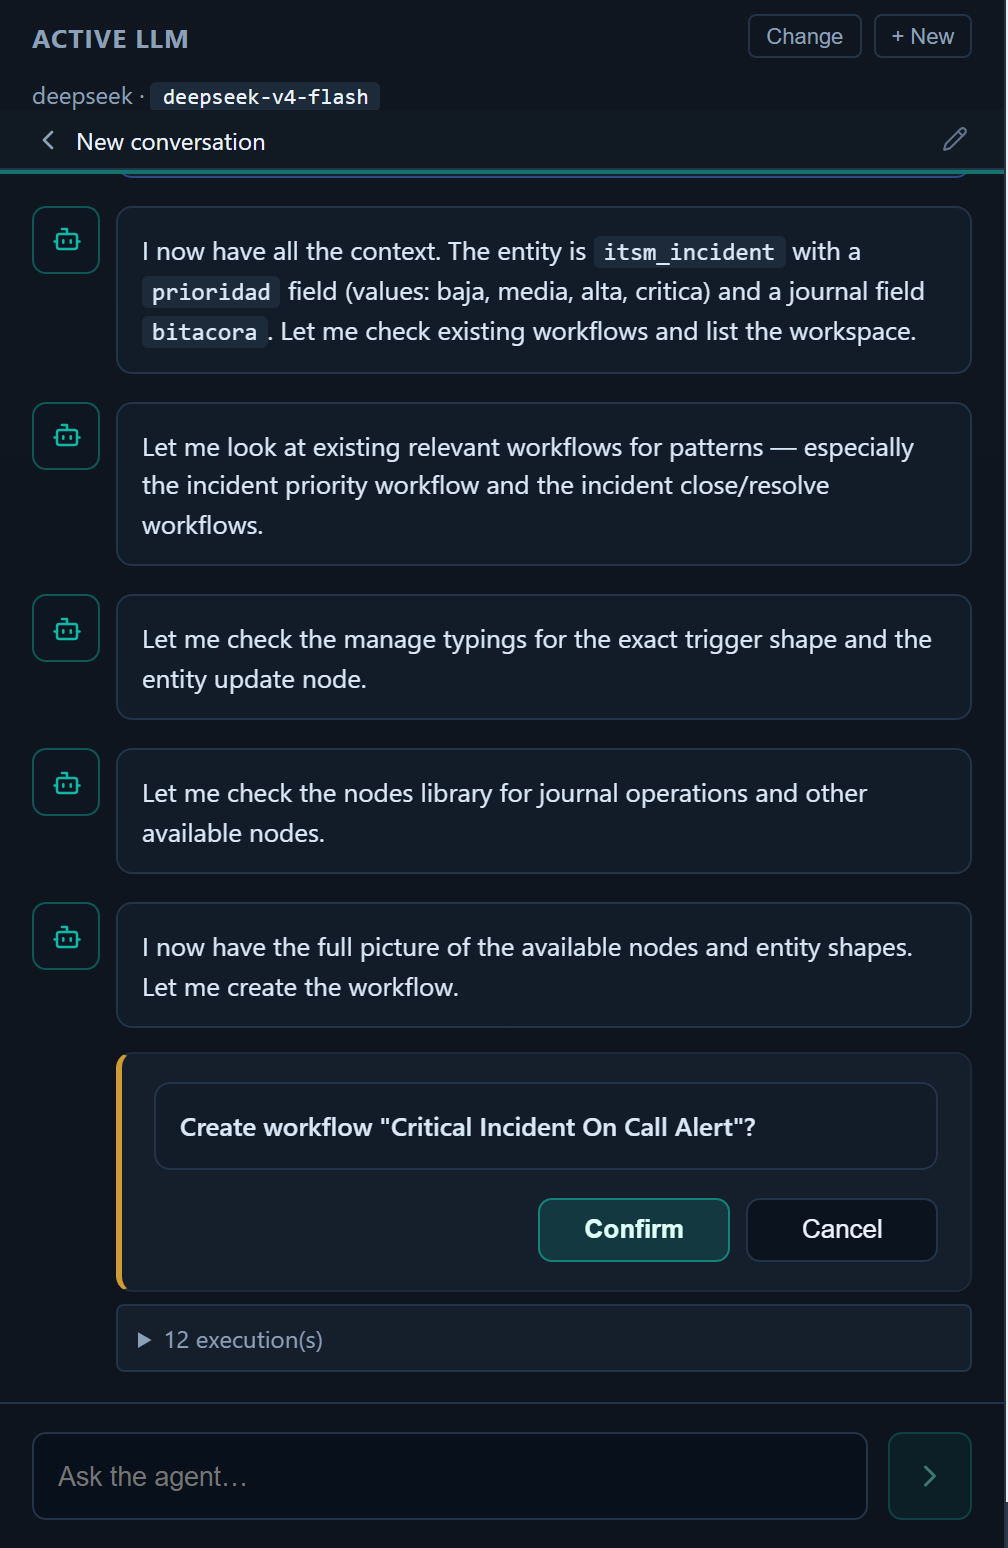
- Draft the workflow as a JSON definition.
- Show you the draft inline (graph view + JSON view).
- Pause at the side-effect confirmation gate because creating a workflow is a write.
- Show two buttons: Approve and Reject (with notes).
Click Approve. The agent calls workflow.create with the drafted definition. A new workflow appears in Setyenv → Workflows, ready to test and activate as you would with any hand-built workflow.
What to do next
- Read Side-effect confirmation gate — it is the single most important concept to understand before using the agent for real work.
- Read Tools for the full list of what the agent can do.
- Configure rate limits + budgets in Setyenv → Agent → Settings → Limits.