














Getting started
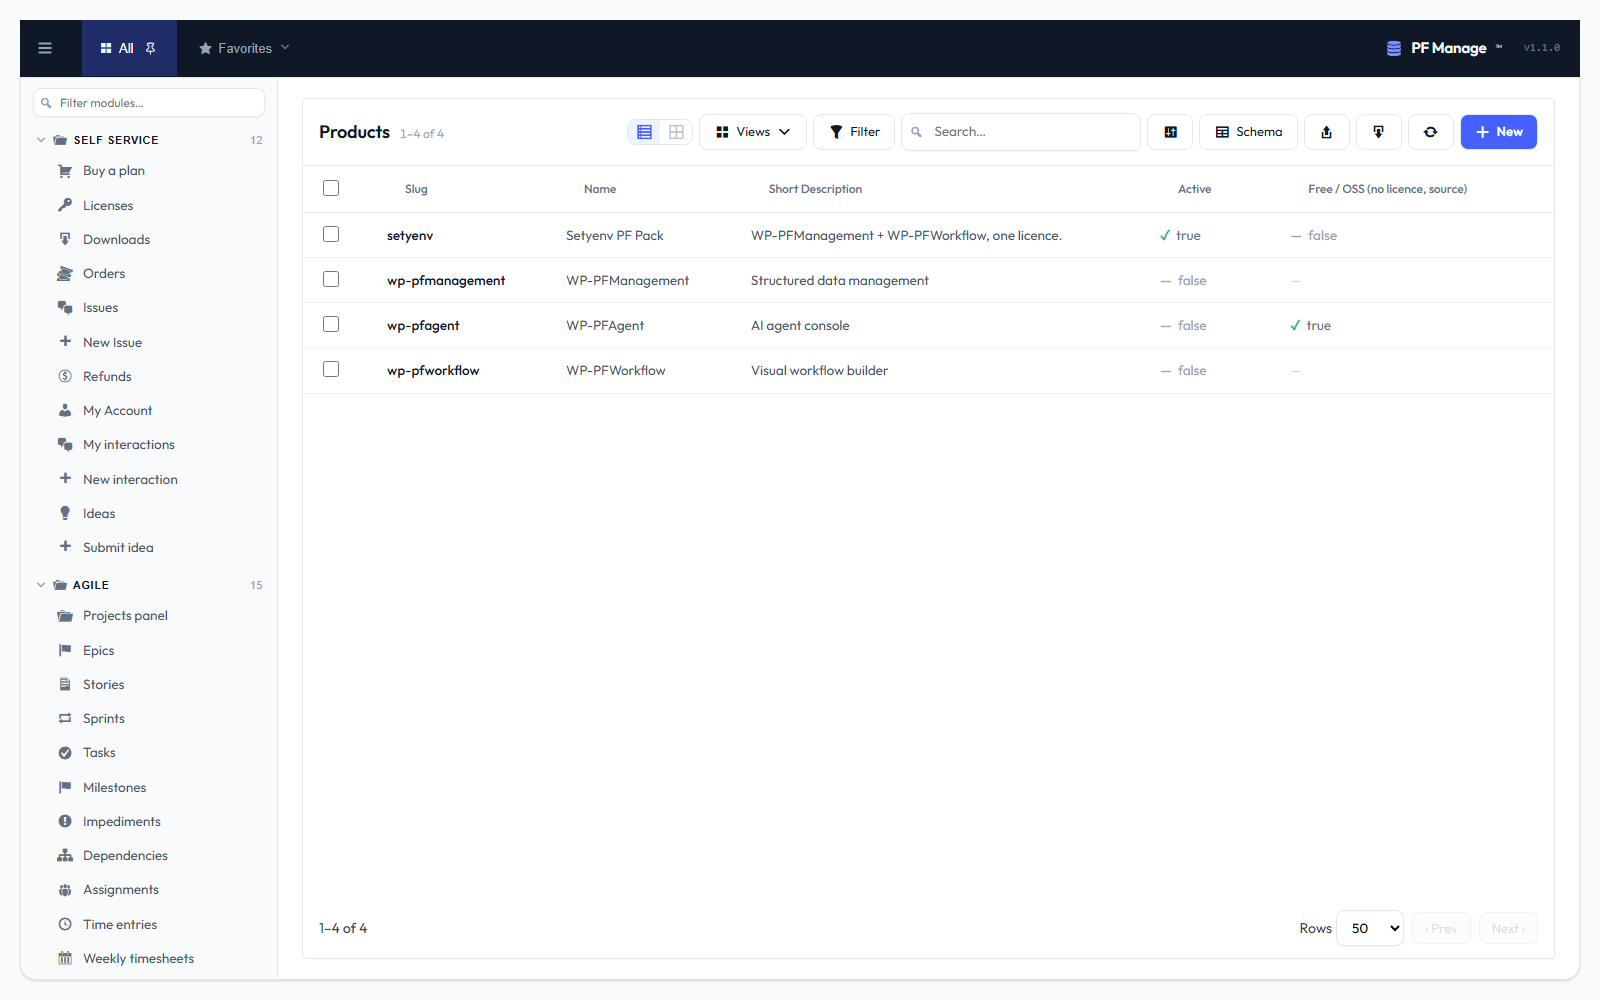
From zero to a working entity with records in about 10 minutes.
Prerequisites
- WordPress 6.5+.
- PHP 8.1+.
- A Setyenv account (free) to download the plugin — or our Docker image, which ships it installed. No licence key is needed: without one the plugin runs the Community Edition (free for personal and non-commercial use, every feature). An Enterprise key, for commercial use, is entered once for both WP-PFManagement and WP-PFWorkflow.
- (Optional) WP-PFWorkflow if you want workflows to react to record events.
1. Install
Same flow as the other Setyenv plugins:
- Download the release from Downloads in your account.
- Upload and activate the .zip in Plugins → Add New.
- (Enterprise only) Setyenv → License → paste the key → Activate Enterprise licence. One key licenses both plugins.
A new menu PF Manage appears in wp-admin.
2. Create your first entity
PF Manage → Entities → New entity:
- Singular name:
Contact - Plural name:
Contacts - Slug: auto-filled as
contact(URL-safe identifier; used in REST and in event names). - Description: optional, internal-only.
- Click Create.
You land on the entity's overview screen. It has tabs: Schema (fields), Form (designer), List (designer), Records (the actual data), Events (what fires for this entity), Settings.
3. Add some fields
Schema tab → Add field:
- First name — type Text, required.
- Last name — type Text, required.
- Email — type Email, required, unique.
- Company — type Text, optional.
- Status — type Single choice, options
[Lead, Customer, Churned], defaultLead. - Joined on — type Date, default today.
Each field has an inspector on the right with type-specific settings (validation, defaults, conditional visibility, etc.) — see Fields reference for everything.
After adding fields the Reconciler runs in the background to align the actual DB table with your schema. You can see its progress in PF Manage → Reconciler.
4. Design the form
Form tab. The form designer is a single-column layout. By default every field is included in order; reorder by drag.
Optional polish:
- Group fields under section headings ("Contact details", "Sales info").
- Use conditional visibility to show "Churned reason" only when Status is Churned.
- Add help text to fields that need it.
Save. The form is now the canonical create/edit UI for Contact records.
5. Add your first record
Records tab → New Contact. The form you just designed opens. Fill it, Save. The record appears in the list.
6. Browse the list
The default list shows every field as a column. Click any column header to sort. The filter bar at the top accepts EQL — start with status:Lead to filter, or just type a word for full-text.
Save the current filter + columns as a Saved view for one- click later (e.g. "Hot leads in Spain").
7. (Optional) React to record events with Workflow
If WP-PFWorkflow is installed, open a new workflow and you'll see three new triggers in the WP-PFManagement category:
pfm.record.created— fires when a record is created. The trigger payload is the full record + the entity slug.pfm.record.changed— fires when any field changes. Payload includes the diff of before / after.pfm.record.deleted— fires before deletion. Payload is the record as it was.
Filter the trigger by entity slug (contact) and condition (e.g. record.status == 'Customer') to fire only the workflow you want.