














Getting started
Get a worker running and connected to a WP-PFWorkflow site in five minutes.
1. Provision a worker on the WordPress side
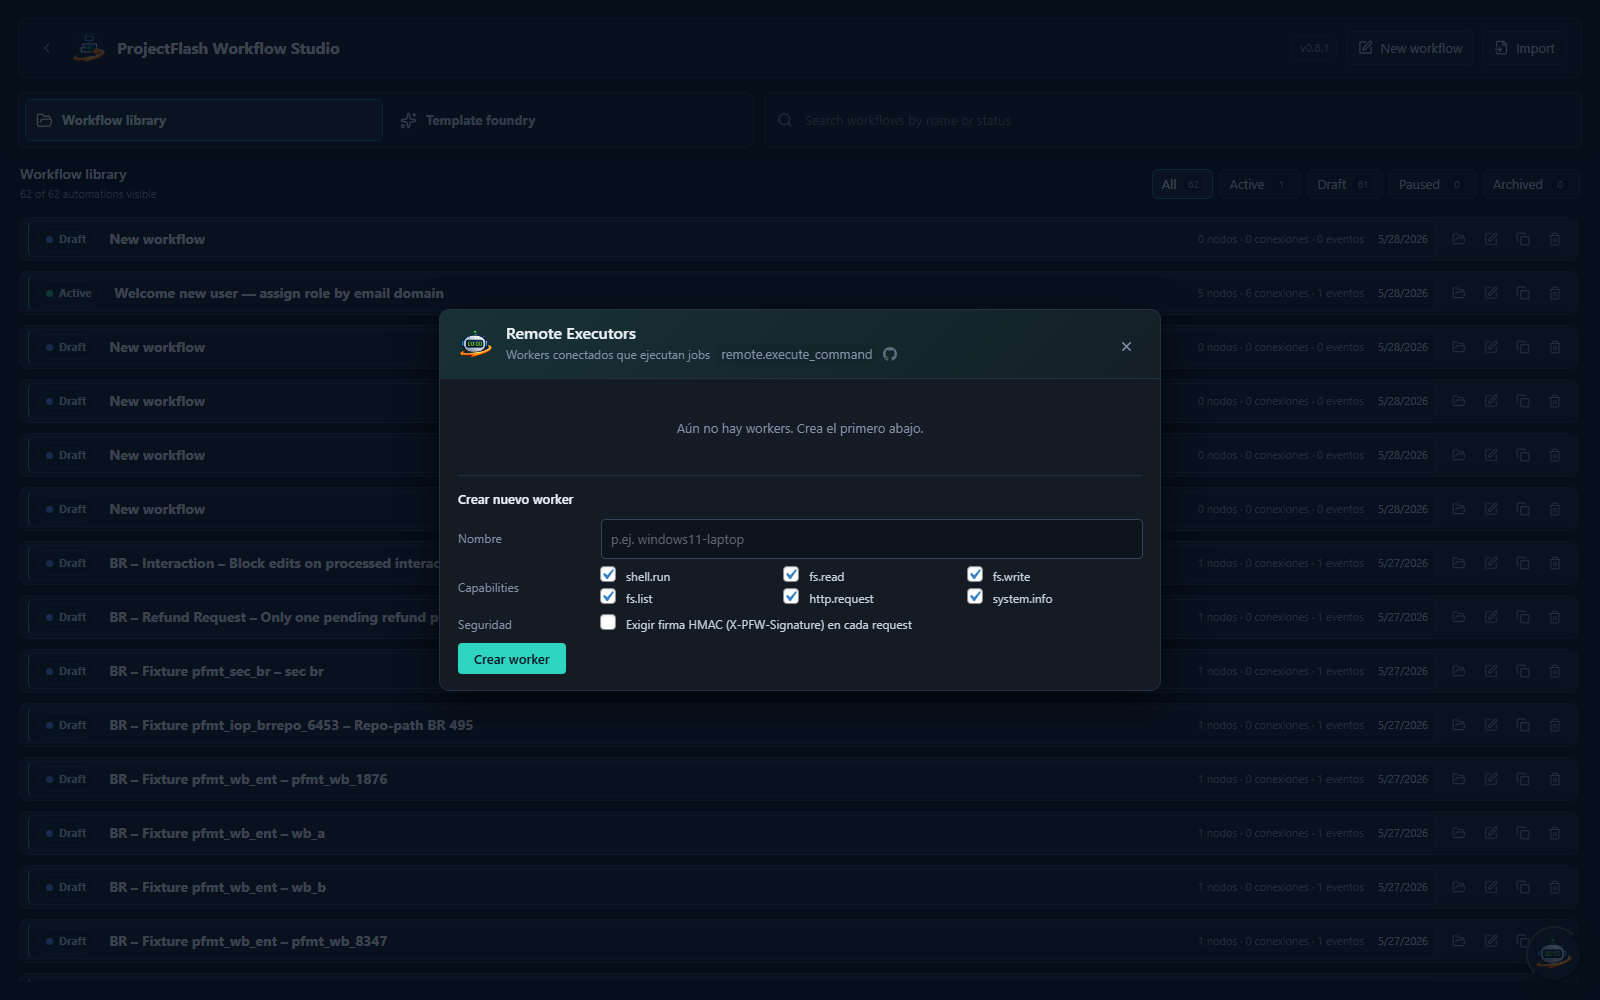
- Open PF Workflow → Remote workers (click the executor badge on the bottom-right floating button).
- Create worker, give it a name and tick the capabilities you want this worker to be allowed to run (shell, fs.read, fs.write, fs.list, http.request, system.info).
- Copy the bearer token shown after creation. It is shown in plain text exactly once. Save it somewhere safe — you can always rotate it later.
2. Install the binary
Download the archive for your OS / architecture from the releases page, unzip it, and place the wp-executor binary somewhere on your PATH. Or build from source with cargo build --release (Rust 1.80+).
Install as a service
Installer scripts ship under scripts/:
| Platform | Command |
|---|---|
| Linux (systemd) | sudo ./scripts/install-linux.sh (or --user) |
| macOS (launchd) | ./scripts/install-macos.sh (or --system) |
| Windows (sc.exe) | Elevated PowerShell: .\scripts\install-windows.ps1 |
Each installer creates a config template and a matching uninstall-* script.
3. Configure
Edit the generated config.toml. At minimum:
base_url     = "https://your-wordpress-site.example.com"
bearer_token = "pfw_worker_<id>_<secret>"
See Configuration for every field.
4. Verify
Probe the connection before starting the worker loop:
wp-executor --base-url=https://your-site.tld --token=pfw_worker_1_xxx probeA successful probe prints the upstream contract document and exits zero. If you see an auth error, re-check the bearer token and that the worker is enabled on the WordPress side.
5. Run
- As a one-off:
wp-executor run - As a service: enable / start it through the platform's service manager (
systemctl enable --now wp-executor,launchctl bootstrap, or the Windows service from the installer).
The worker will poll the remote queue, claim jobs, run them under your capability allowlist, and report results back. The next heartbeat is visible under PF Workflow → Remote workers.